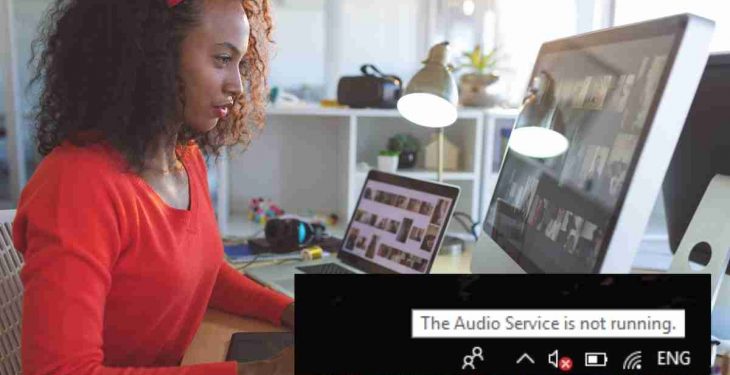
Innumerable people face the problem of Windows could not start the Windows audio service on the local computer when they try so. The status of the Windows audio service usually is set to the auto mode by default when the computer is active.
Yet some users come up with the issue of unresponsive Windows audio service. If you are facing a similar problem then here are few tips for quick fixing it.
This article will guide you on the ways of solving the issue regarding Windows audio service not responding on local computers. Check out nimblenerds.com.au for all your computer related problems.
Similar: Fix Error Your Windows License Will Expire Soon [FIXED]
3 ways by which you can fix the error windows could not start the windows audio service on local computer
1. Run system file checker
Most of the time, this issue occurs due to the usage of pre installed third party anti virus in the system.
The anti-virus fails to recognize the windows audio service file, often misinterpreting it as a virus. As a result, the antivirus blocks it in under the terms of negative file and this affects the other files allied with the system.
To fix this you can run system file checker to check and solve the issue in the following ways:
- Open Command Prompt or Windows PowerShell as administrator
- Go to command line window and type command sfc/scannow and press enter.
- Don’t close the command line window until the message verification is fully completed.
After this, reboot your computer and check whether you’re having the same issue or not.
2. Copy the registry key
If your window couldn’t start the windows audio service, then here’s another way of fixing it by copying the registry key from another normal computer in some following steps:
- Together tap the window and the R key to open run dialog.
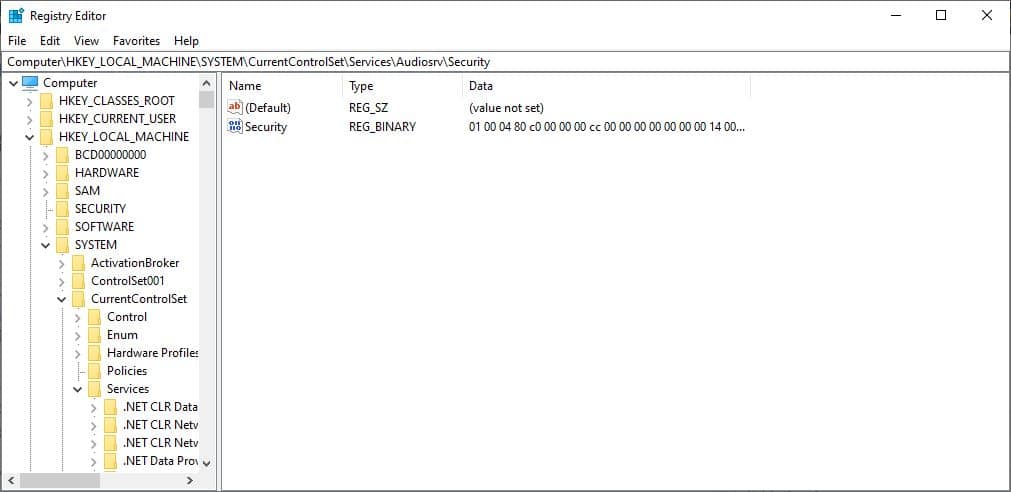
- Type regedit in the provided box following by the OK button.
- Navigate HKEY_LOCAL_MACHINE\SYSTEM\Current controlset\Services\Audiosrv path in the registry editor window.
- Choose and click the file and select export.
- Then copy the registry key to the affected computer.
- Right click on the registry key and select merge with the affected computer.
After finishing the steps reboot your computer to check.
3. Add windows audio service to the safe list.
Here is another way of fixing the issue of windows could not start the audio service on local computer – simply by adding it to the safe list. In order to do that
- Find the audio service related file in the anti-virus program and move it to the safe files.
- Reboot your computer after that to see if the issue is gone.
Final words
Concluding, this article unveils 3 ways of fixing the problem of window could not start the windows audio service in the local computer. If you face the same problem try using any of the above noted tips to quick fix it.
How to fix Asus Smart Gesture not working?
Asus smart gesture – a Touchpad drive that assists in pin point scrolling, dragging, clicking and tapping.
At times, one may face complications with the smart gesture not working. Usually this happens after the an upgrade in the windows version.
Here are some effective solutions to guide you out if this problem arises.
1. Reset Asus smart gesture to normal
It’s a familiar issue if something is wrong in the setting of smart gesture. You can fix it by resetting the smart gesture to default in the following steps:
- Tap win+R to open Run
- Type control to open the control panel
- From the view by of drop down menu, select Large icons
- Find and click Asus smart gesture
- Click on set all to default to reset the smart gesture to its original setting.
Restart your computer to see whether the issue is cleared or not.
2. Update the driver for Asus smart gesture
Out of date smart gesture also contributes in the malfunctioning of Asus smart gesture. In that case, follow the steps to update your Asus smart gesture
- Open window search panel
- Look for device manager and click on the first result
- Search Mice and other pointing devices and unfold it.
- Right click on Asus Touchpad to update the driver.
- Finish the process and close the drive manager.
Restart your computer and check for the issue being solved or not.
3. Reinstall Asus smart gesture
If all the above noted solutions failed to quick fix the issue you may accept it as a software compatibility issue. For this you can try reinstalling your Asus smart gesture a time to check. For that you have to uninstall your smart gesture first.
How to uninstall Asus smart gesture:
- Tap start
- Go to settings > apps
- Search Asus smart gesture and select it.
- Click on uninstall for the process.
How to install the latest version of Asus smart gesture
For the safety of your computer it is a better option if you install the program from the Asus official site for faster and better results.
Bottom line
This article enlightens you about the possible ways to get your malfunctioning Asus smart gesture fixed. You can look out for the aforementioned ways and get your work done easily.


