The most exciting feeling these days during the ongoing pandemic situation is when our doorbell rings, and we expect it to be someone who makes us go to our doors or even outside. Do you ever wonder how people install a ring doorbell?
We have so much time these days, and we could even try to learn something new, like installing this ring doorbell on our own. Don’t wonder how because we will help you out on how to do this.
Concept and Working of Doorbells
We all love a life of leisure and comfort where we can lie in our beds all day long and not worry about getting up and working. The Ring doorbell allows you to have this kind of comfort in your life when it comes to getting up and answering the front door every time somebody shows at our doorstep.
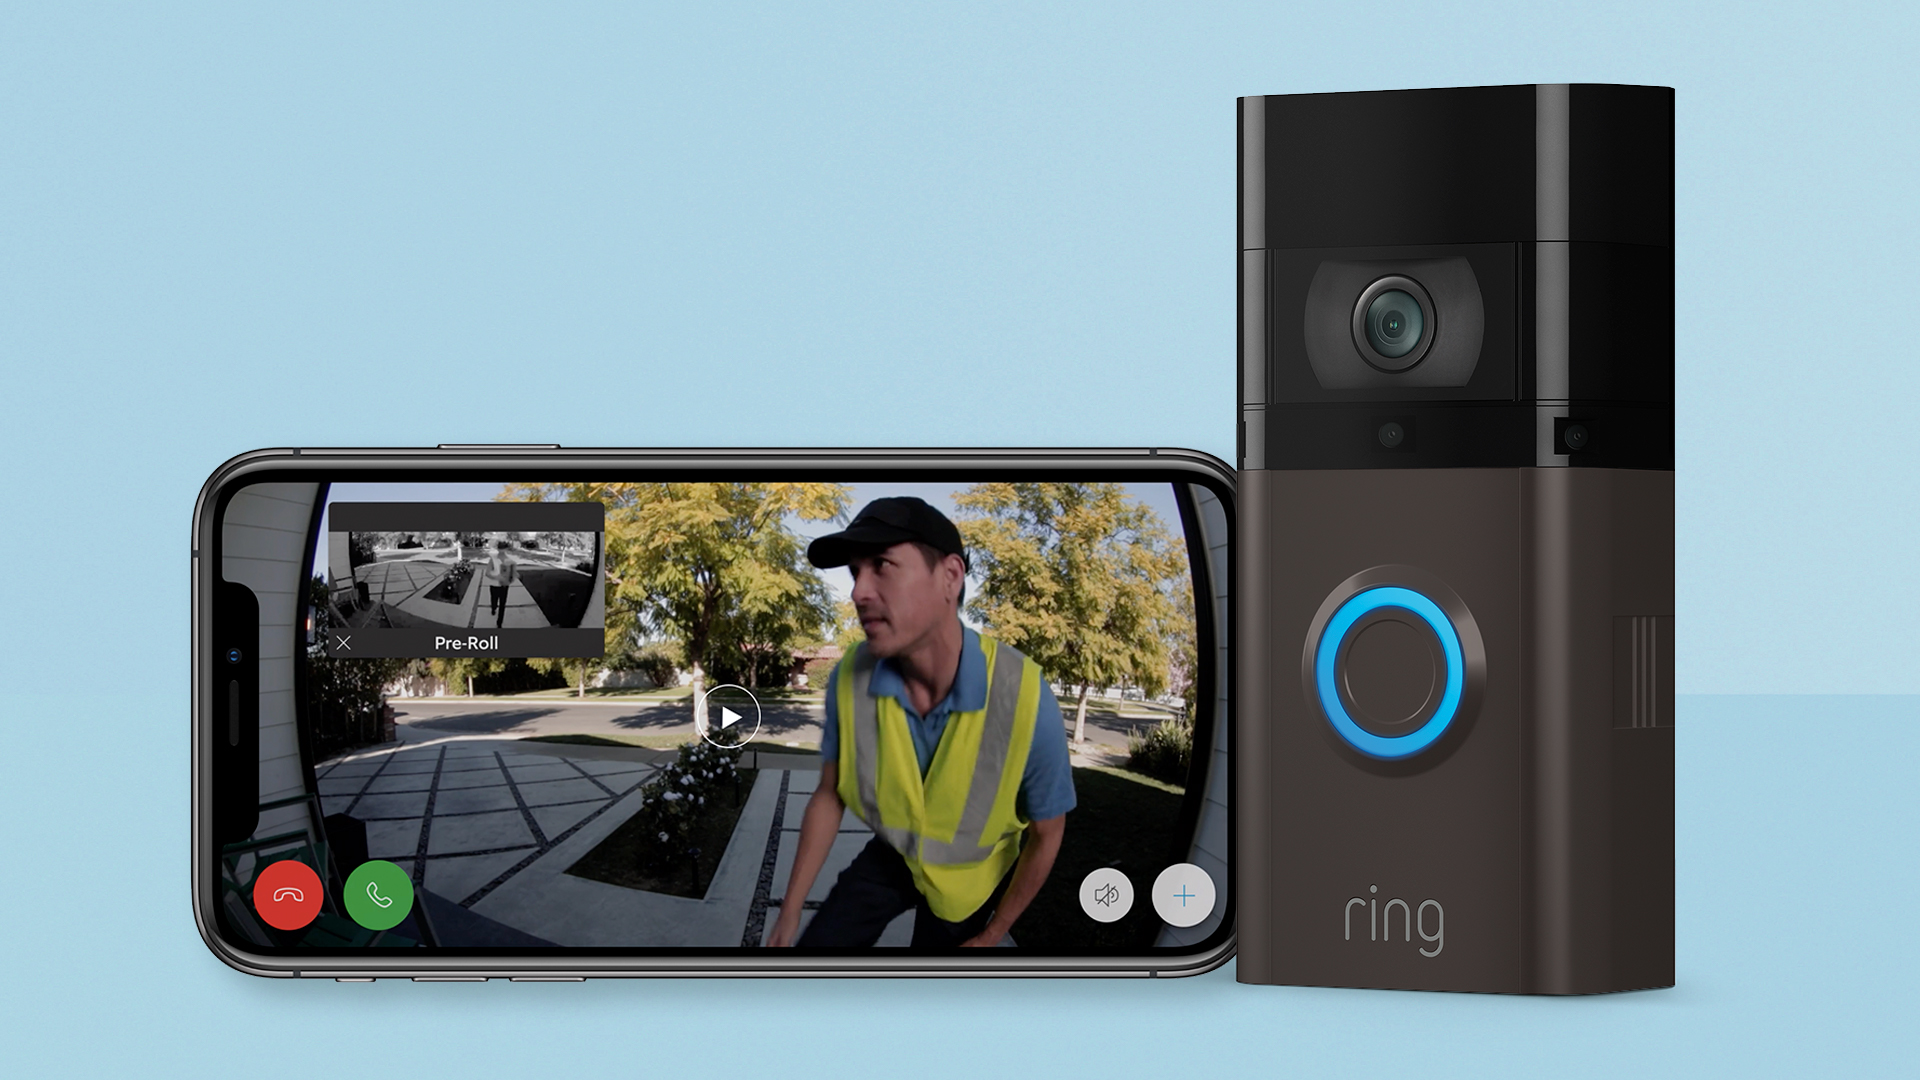
The Ring doorbell physically appears like any other doorbell, but it comes with an integrated video camera that allows us to see who is at our doorstep virtually. This feature is accessible when you’re home and when you are not home because it is connected to our smartphone, and it allows us to access it through that.
It is a battery-powered device that can operate wirelessly and independently. It is a WiFi-operated device with a two-way audio system. When someone rings the bell, the signal reaches from the doorbell to the Ring doorbell’s cloud servers and eventually to the Ring doorbell app on your phone.
It is a fairly easy device to install, so let’s dive straight into that.
Read more- How to Install an SSD in PC and Laptop
Steps to Install Ring Doorbell
Step 1 – Gathering the tools
When you buy Ring Doorbell, the Ring doorbell kit pretty much contains all the tools and material that you might need to install Ring doorbells, including screwdrivers, screws, a charging cable (if needed), and instructions manual.
Apart from these, you may need a drilling machine to fix the ring doorbell into a hard wall. We also recommend that you have a flathead screwdriver or a box cutter in hand to remove the existing doorbell that you might have.
Step 2 – Charging the battery
Once you unbox the Ring doorbell, you will notice that you have a charging cable. Using the charging cable, plug your device into the charging.
You should see a red light and a green light to indicate the battery is charging with your battery plugged in. Charging may take four to six hours, so wait patiently and do not try to speed up the process. Once the battery is fully charged, the red light will turn off, and you’ll get the green light on the battery device, which literally means a green sign to go through with the installation of the device.
The battery is rechargeable and removable as well so, even if you have mounted the Ring doorbell on your wall, you can always physically remove the battery and recharge it as and when required.
Step 3 – Connecting to the Internet
Download the Ring application on your phone and connect it to your home WiFi connection. This app will be the main point through which you can manage all your ring doorbell functions. This is where you will check in all the people who come to your house.
Just create an account and follow all the on-screen instructions you get in the app, and this app will walk you through all the steps to set up your Ring doorbell.
Step 4 – Shutting Off power
Now is the step to remove your existing doorbell, but before doing so, make sure that your old doorbell’s power has been shut off. This is for safety reasons because now you will be dealing with exposed wiring.
Also read- How to Find Model Number of Your Computer in Windows 10
Step 5 – Removing your old doorbell
At this point, you can remove the old doorbell off your wall and prepare for the physical installation of the new Ring doorbell.
Using the screwdriver or the box cutter, remove the old doorbell. Gently pull the doorbell off the wall and pull it out, exposing the two power wires. Loosen the screws to detach the wires and take out the doorbell completely.
Step 6 – Attach the new Ring Doorbell
Due to the old doorbell’s removal, your wall will have an existing hole with two wires hanging out. Hold the doorbell up to the wall or doorframe that you want to install your new doorbell and mark the spots that need to be drilled apart from the one hole already there. Use an electric drill to create the new holes.
Connect the two doorbell wires to the two screws on the back of the Ring doorbell. It doesn’t matter which wire connects to which screw. If the wires are too short, use the wire extenders provided by the Ring kit. Ensure each wire has a good connection to the screws and that they are not touching each other. Now, mount the doorbell using the included screws.
Position your Ring doorbell just above the bracket and press in and down until it clicks into place. It’s okay to use a little bit of force on this step.
Step 7 – Restoring the power
It is time to flip the breaker switch on again and test the device that you single-handedly installed.
If everything seems to be in order, you can screw the two included security screws into the faceplate’s underside using the small end of the included screwdriver. If not, recheck the connections that you made earlier.
Step 8 – Setting preferences in the app
Congratulations, your Ring doorbell installation is complete now.
You can play with the app and change the settings and how you prefer.
Also read- How to use OBS [A Beginners Guide]
Troubleshooting Tips for Ring Doorbell Installation
-
Battery Charging Issues:
- If the battery isn’t charging, ensure the USB cable is properly connected and the power source is active.
- A solid green light indicates a full charge. If it’s not showing, wait for a few hours as it can take 4-6 hours to charge fully.
-
Wi-Fi Connectivity Problems:
- Ensure your Wi-Fi network is operational and the signal strength is strong where the Ring Doorbell is installed.
- If the doorbell can’t connect to Wi-Fi, try resetting your router or moving it closer to the doorbell.
-
Power Issues with Hardwired Installation:
- If the Ring Doorbell doesn’t power on after installation, check the circuit breaker or fuse box to ensure power is supplied.
- Verify that all wire connections are secure and properly insulated to prevent short circuits.
-
Video or Audio Quality Concerns:
- Poor video quality can be due to low Wi-Fi signal strength. Consider using a Wi-Fi extender.
- For audio issues, check the Ring app settings to ensure the volume is adequately set.
-
Motion Detection Not Working:
- Adjust the motion sensitivity settings in the Ring app. Sometimes, the default setting may not be suitable for your specific environment.
- Ensure the Ring Doorbell’s view is not obstructed by objects like plants or decorations.
-
App Setup and Notification Issues:
- If you’re not receiving notifications, check if the Ring app has permission to send notifications on your smartphone.
- Ensure the Ring app is updated to the latest version for optimal performance.
-
Physical Installation Challenges:
- If the doorbell is loose or not fitting properly, recheck the mounting bracket and ensure it’s securely attached to the wall.
- For installations on uneven surfaces, use the provided mounting wedge to adjust the angle.
-
Doorbell Chime Not Working:
- If using a digital chime, ensure the included diode is correctly installed as per the Ring instructions.
- For mechanical chimes, check if the in-home chime settings in the Ring app are correctly configured.
-
Device Reset or Reboot:
- If the Ring Doorbell is unresponsive, try resetting the device by holding down the setup button for 15 seconds.
- Reboot the device to refresh its connection to your network and Ring app.
-
Firmware Update Issues:
- Ensure your Ring Doorbell is connected to Wi-Fi to receive and install firmware updates automatically.
- If updates fail, try rebooting the device or reinstalling the Ring app.
Points to Remember
- When the Ring doorbells are hardwired, they don’t get fully charged; instead, they get trickle-charged.
- Ring doorbells can be used without wires as well as their batteries are rechargeable.
- Ring doorbells can be stolen too. Yes, even though the app is highly modern and connected to your devices and stuff, it can still be stolen. However, it is highly unlikely that the person who stole it will be able to use it.
- The battery life of Ring doorbells is highly amazing. It can go for months without charging once it has been fully charged.
I hope this guide is good enough for you to completely understand the ring doorbells working and how to install them.
Conclusion:
In conclusion, installing a Ring Doorbell can significantly enhance your home’s security and convenience. While the installation process is generally straightforward, you may encounter a few hiccups along the way. The troubleshooting tips provided cover common issues ranging from battery charging and Wi-Fi connectivity to motion detection and audio-visual quality. Remember, most problems can be resolved with simple checks and adjustments. If you continue to experience difficulties, don’t hesitate to consult the Ring support team for more specialized assistance. With these tips and solutions, you should be well-equipped to enjoy the full benefits of your Ring Doorbell, ensuring a safer and more connected home environment.
Frequently Asked Questions:
1: How do I know if my Ring Doorbell is charging properly?
Answer: When your Ring Doorbell is charging, you’ll see a red and green light indicating the charging status. A fully charged battery will only show a green light. If these lights aren’t displaying as expected, ensure the charging cable is properly connected and the power source is active.
2: What should I do if my Ring Doorbell isn’t connecting to Wi-Fi?
Answer: First, check if your Wi-Fi network is working correctly. If the network is fine, try moving your router closer to the Ring Doorbell or use a Wi-Fi extender to boost the signal. You can also try resetting your router and reconnecting the doorbell through the Ring app.
3: Can I install the Ring Doorbell myself, or do I need professional help?
Answer: The Ring Doorbell is designed for DIY installation, and most users can install it without professional help. The package includes all necessary tools and instructions. However, if you’re not comfortable with basic wiring or drilling, you might prefer to hire a professional.
4: Why isn’t my Ring Doorbell detecting motion properly?
Answer: If your Ring Doorbell isn’t detecting motion as expected, adjust the motion sensitivity settings in the Ring app. Environmental factors like passing cars, trees, or large animals can also affect motion detection, so consider the placement of your doorbell.
5: How often do I need to charge my Ring Doorbell battery?
Answer: The frequency of charging depends on how often the doorbell is used. Typically, a fully charged battery lasts several months. You can check the battery level in the Ring app. If the battery drains faster than usual, consider reducing the motion sensitivity or the frequency of alerts.
Hope you like it! Share this article with the needy ones.


