
Are you frustrated by your slow system? Do you want to know how to clean you system hard disk space and boost up your system? Do you want to learn how to install an SSD to your system to boost up your speed? Mostly people use to free up RAM and clean hard disk space to speed up the system but they don’t know the main problem of system speed is the SSD. You can simple boost up your speed by just installing some more SSD to your system.
If you are one of those hardcore PC gamers, who want the latest tech in their PC, with the latency periods being as small as possible, you must be familiar with the device SSD. It is completely OK if you are scratching your head right now. But we assure you that by the end of this article, the condition would not remain the same! Or, you could be one of those indie filmmakers, who require the best hardware for the least rendering durations and fully optimized software support. Or, you can also be one of those budget gamers who are fed up with their potato PC and want to increase its performance substantially without having to spend a ton. Let’s now check out What is an SSD and how to install an SSD.
In any of the above and other similar cases, and SSD proves to be a savior. The unfortunate thing is that you do not know how to install an SSD on your system (otherwise, it is highly unlikely that you would be reading this article!). Well, worry not, because we are here to teach you how to install SSD on both desktops and laptops. Let’s get straight into it.
Related – How to Fix Windows 10 Keyboard Not Working [FIXED].
What is an SSD in the First Place?
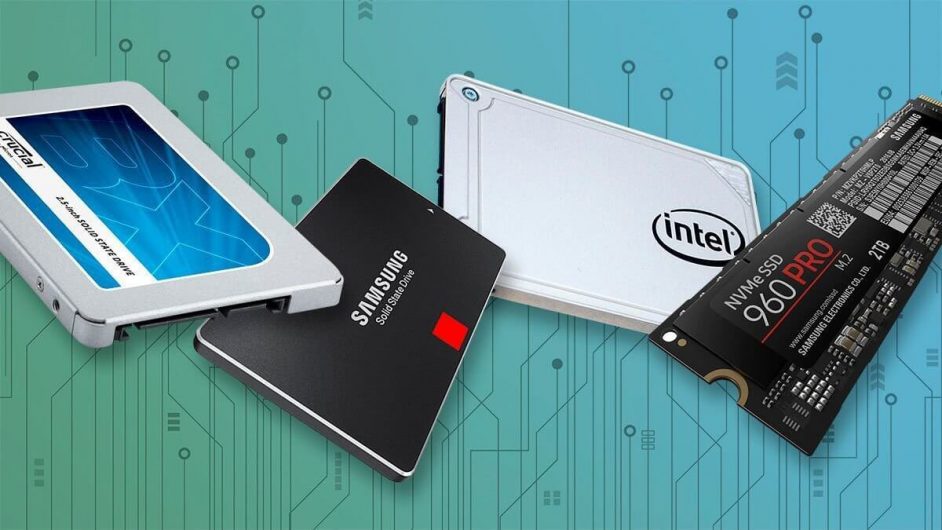
The word SSD stands for Solid State Drive. SSDs are also storage devices similar to hard disks in their basic function, but so much different in the way they work and the features they offer. A traditional hard drive has been the main storage device for most people for the past two to three decades. But it is 2020, and it is time to breathe some life into that old lethargic computer of yours.
A hard drive has a series of metallic disks enclosed in a hard metal shell. Whatever the data is, it is stored on the surface of the metallic disks. But this system has a problem. Since this is an electro-mechanical way of storing data, it is more time consuming and unreliable as compared to the purely electrical way. Speaking of which, an SSD does just that. It contains arrays of MOSFETs, capacitors, and other electronic components that together perform the task of storing information.
Now that you actually know what an SSD how to install an ssd is let us see how you can fit one inside your rig. We shall divide the process into two sections, considering that there are broadly two devices on which you will be installing the SSD that is, a desktop and a laptop.
Read – How to Find Model Number of Your Computer in Windows 10.
How to Install an SSD on to a Desktop?
How to install an SSD on to a desktop, follow the steps that follow:
- Open up the side panel of your cabinet.
- Make sure that you have at least one SATA cable and one SATA power cable-free for the SSD.
- If you do not have a SATA cable, you can buy one for dirt cheap from any local store.
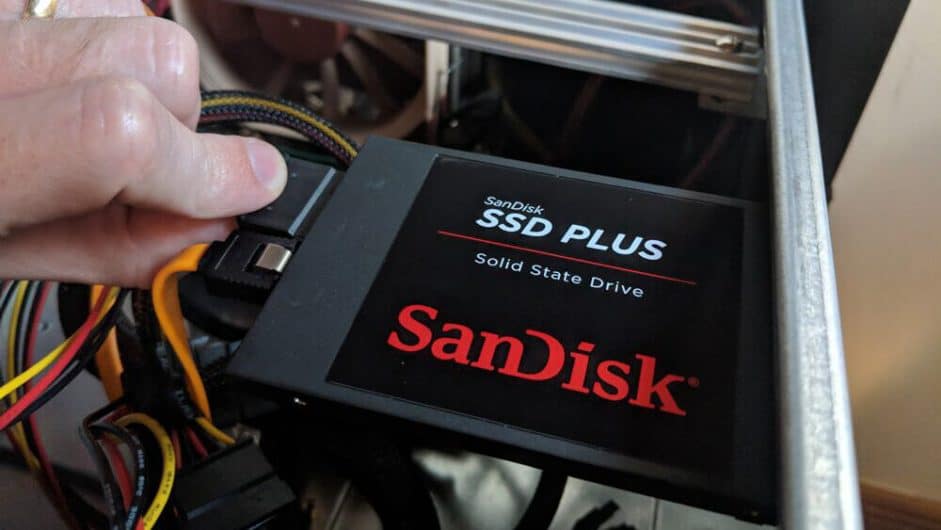
- Attach both the SATA cable and the SATA power cable into their respective ports.
- Screw the SSD into one of the 2.5-inch bays provided in your cabinet by the manufacturer.
- Startup your computer for further configuration (details of which will be discussed after a short while).
How to Install an SSD on a Laptop?
Now, let us march forward to accomplish the goal of installing an SSD on to a laptop. For doing so, follow the steps mentioned below:
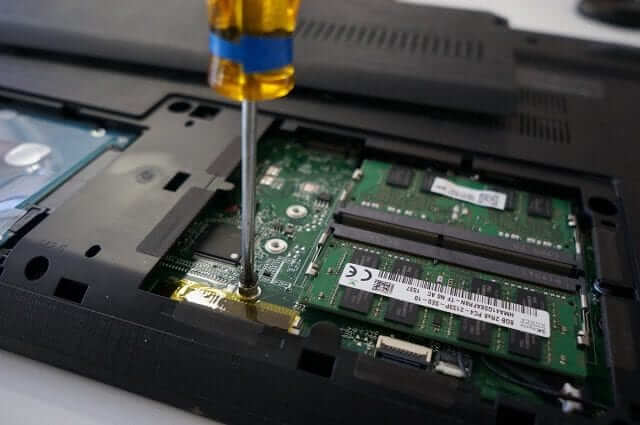
- Open up your laptop back-plate by unscrewing all the screws holding it in place.
- Now, unplug the previous SSD or Hard drive attached to the SATA connector (since most of the laptops nowadays come with a single SATA port).
- Plugin the SSD into place by connecting the SATA and power cable.
- Screw back the back-plate and turn on your device to make sure everything is working.
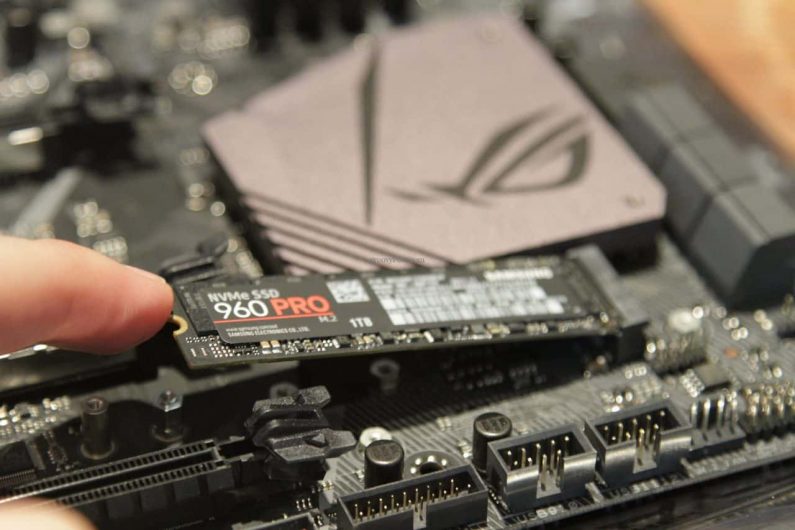
How to Install an NVMe SSD?
‘OK, I know what is an SSD, but what is this NVMe thing?’, if that is what came to your mind after reading the heading, then stay calm, it is just a type of SSD. It differs from the traditional, specifically in two aspects, that is the size and read and write speeds. NVMe SSDs are much smaller, offer higher efficiency, and have insanely fast transfer rates. The main reason by virtue of which these things offer such awesome features is that they are bolted directly on to the motherboard, which rules out latency and power loss.
Now let us install the thing into our system. Do note that you need a dedicated M.2 NVMe slot on your motherboard for doing so, which is generally found only on high profile and modern motherboards. So pay attention to this. Now, feel free to follow along:
- Open the side panel of your cabinet.
- Remove all the cables connected to your motherboard to free up some space for working around.
- If you have a dedicated graphics card installed, temporarily remove that also.
- Locate the M.2 slot by taking help from your motherboard’s manual.
- Unscrew the heat sink on top of the slot.
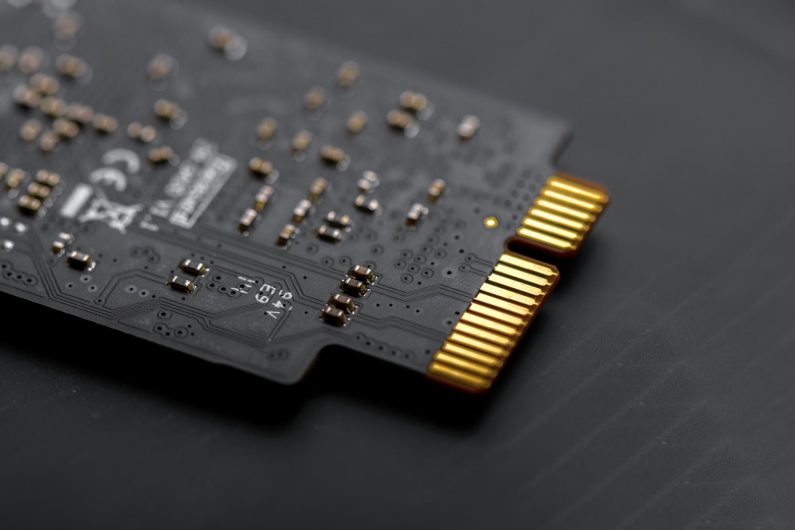
- Gently slide in the SSD’s gold pins into the slot.
- Put the heat sink back on, and with a gentle push, screw the heat sink back in.
- Plug in all the cables into their respective ports just like before.
Configuration
After learning that how to install an SSD let’s check out how too configure it. OK, so our hardware is in its new house now. Let us start the software part now. This is because of the fact that these SSDs cannot be used just out of the box. You need to manually create the appropriate partitions and allocate space to each partition. Do not worry, because that is what’s coming up next.
- Right-click on This PC.
- Click on the Manage option.
- Once the window opens, click on the Disk Management option.
- Give it some time to load.
- Once you see all the drives and partitions, look for the drive you just installed, that is the SSD.
- Right-click on the unallocated space and click on the New Volume option.
- In the new partition wizard, specify the disk size you want to allocate to that particular partition. It may even be the entire disk’s storage capacity.
- Now select the type of partition you want.
- Click on OK to create the new partition.
- Repeat this process to create the desired number of partitions.
Why an SSD?
The answer is simple because they bring with themselves tons of features that the traditional metal hard drives can never offer. Some of the most noticeable and appreciable ones are:
- Extremely fast read and write speeds.
- Compact design.
- Ability to store much more data on a relatively small size.
- Higher power efficiency.
- Resistance to vibrations and heat.
- Reliability.
- Ability to speed up the system many times.
- Faster loading times in games, menus, programs, and faster rendering in editing software.
Conclusion
So that is how you install an SSD on a desktop or a laptop. Pretty easy, right? Yes, because it actually is. With a little bit of fiddling, you can breathe a new life into an old dying system, or a new out of the box gaming beast. Whatever the case may be, SSDs always prove to be an asset. We hope that we cleared every bit of doubt in your mind regarding SSDs.
So why wait, get going right now!


