
Xiaomi which was just another Chinese company a few years back has now made its name as one of the leading smartphones manufacturers in the world. The main reason for its transformation is its line of cutting-edge budget mobile phones. Their smartphones sell like hotcakes in the market and are sold out within seconds.
Want to tap into the full potential of your Redmi Note? Rooting the phone gives you admin access, allowing you to fully customize the device. However, you need to be extra cautious as it can be risky if not done correctly. In this blog, we are going to learn how to root Redmi Note 4 but first, let’s dive into the specs.
The Redmi Note is one of their leading budget smartphone series with Redmi Note 4 as the latest iteration. With an Octa-core Snapdragon 625 processor, 4GB RAM, 13MP camera, and 4000mah battery at just Rs.13000, it is an absolute no-brainer to buy.
Like every other Chinese manufacturer, Xiaomi too has a custom skin on the top of Android installed on their devices known as MIUI. It allows you to customize your phone’s UI according to your preference and has a lot of options for that.
If you do not like the pre-installed user interface and need a stock Android experience, rooting Redmi Note 4 helps you to enter the world of custom ROMs.
Rooting can also help you back up your phone(not like the backup option the company provides which is far from everything on your device). You don’t have to wait for updates from the manufacturer anymore which is another advantage of rooting your device.
Introduction
Rooting seems like a complicated task to most people, and maybe an image of a nerd jotting down codes on his computer may appear in your mind.
People often get scared that their device will get malfunctioned and they won’t be able to use it properly.
But it’s a simple task, and anyone can do it with a PC/Laptop and of course, the phone you would like to root. We can do it without using PC/Laptop too.
Here, I am going to show you how you can root your Redmi Note 4 without PC in a few steps.
However, make sure that you charge your mobile to 100% before trying to root your device. This is because, rooting takes time and you don’t want the phone to die in the middle of the rooting process.
So, without any further ado, let’s get started!
NOTE: Before going further make sure to create a backup of all the data including Messages, Contact Files, Images, etc.
Related – How to Fix Google Play Services has Stopped Working.
Steps to Root Redmi Note 4 Without Using PC/Laptop
Rooting your device without using PC/Laptop seems to be one of the easiest methods. But as far as my concern root your device using a PC/Laptop.
1. Go to the settings of your device then go to security and then allow unknown sources.
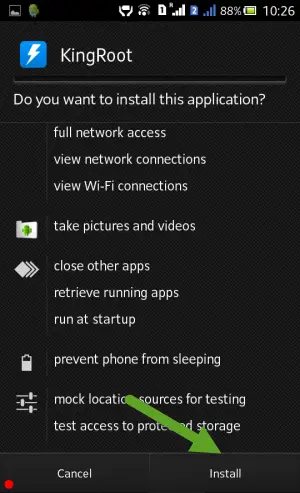
2. Download the latest version of the Kingroot App from here and install it.
3. Make sure that you connect to a stable and secure internet connection be it WiFi or 3G/4G.
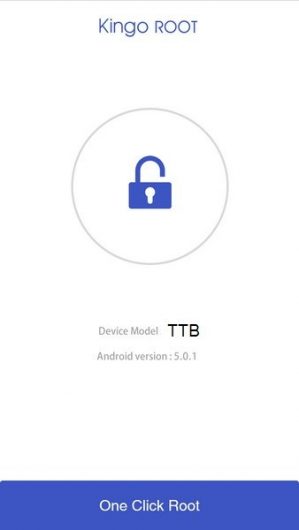
4. Open the Kingroot App and click on One Click Root.
5. The app will start rooting your phone, and this process may take several minutes.
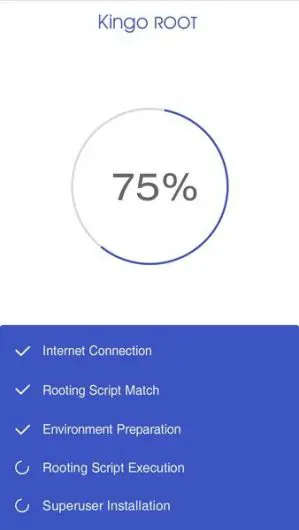
6. The screen will show that the phone is Successfully Rooted.
You’ve successfully rooted your Redmi Note 4.
Steps to root Redmi Note 4 using PC/Laptop
Unlock Bootloader in Redmi Note 4
Firstly, you need to unlock the bootloader to root Redmi Note 4 device.
1. For this, you have to contact Xiaomi through their Mi Unlock Page and log into that site with the account that you’re using on your Redmi Note 4 device.
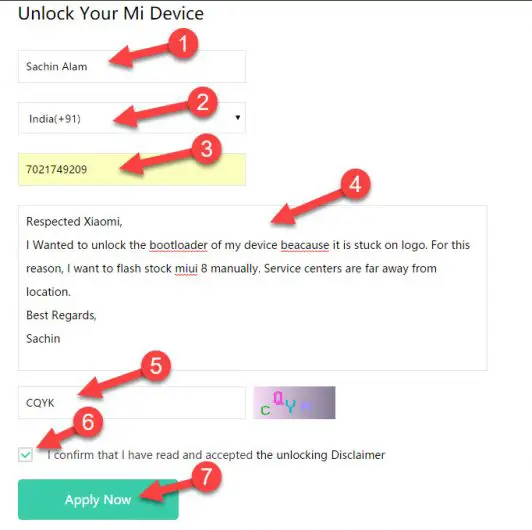
2. They will send you a confirmation to unlock your device through a text message, and this process can take up to some time so be patient.
4. Make sure that you have been logged in with the same account as of your phone.
5. Install ABD & Fastboot driver on your PC from here.
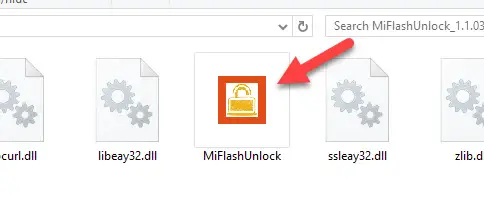
6. Now download MI Unlock Tool and extract it to your PC. Now run the MIFlashUnlock.exe application.
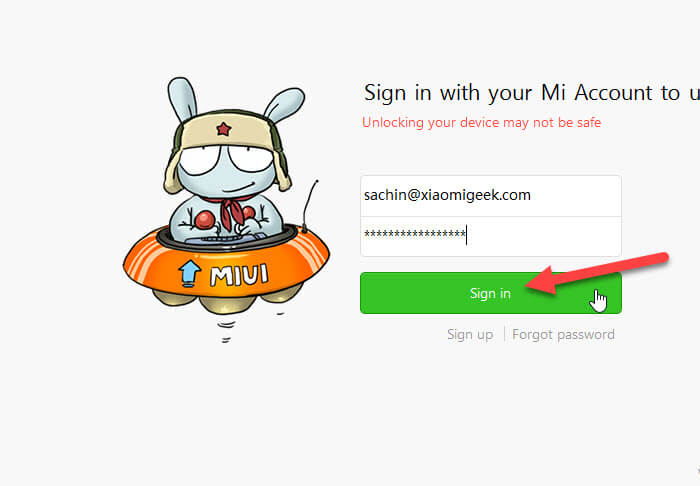
7. After opening the application, you need to login into your Mi Account. Make sure you log in with the same account.
8. Now the application will check whether your phone has permission to unlock it or not. You will see a message that the device is not connected.
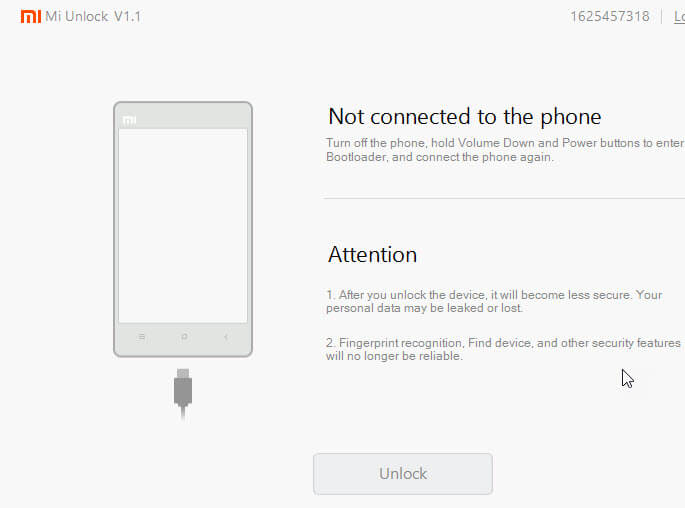
9. Now you have to switch off your Redmi Note 4 in Fastboot mode. Let me tell you how you can get into fastboot mode.
Power off your phone, Hold the Power button + Volume Down button simultaneously.

That’s it! Now you will be in fastboot mode. Connect your Phone to your PC using the USB cable.
10. Finally, click on the unlock button to unlock your bootloader. This unlocking process may take a few minutes. Once the process is complete, click the button reboot phone option.

image source – Xiaomigeek
That’s it; you have successfully unlock the bootloader of your Redmi Note 4. Now you have to move the TWRP files into your Phone to complete the root process.
Install TWRP Recovery on your Redmi Note 4 Device
It will be good if you Unlock Debugging Mode and Unlock OEM on your SmartPhone. This is helpful in the process of rooting Redmi Note 4.
How to enable USB Debugging Mode on your Android SmartPhone?
Here is the simple step to unlock debugging mode on your smartphone.
Go to Settings> About Phone > Tap 5 to 10 times on MIUI Version. This will enable debugging mode on your smartphone.
Now go back again to Settings > Additional Settings > Developer Options. Just click on Enable USB Debugging and OEM unlock from the menu bar.[/su_box]
To proceed further with the rooting process, you need to download and install the following list of programs on your PC/Laptop:-
Mi Unlock Tool
TWRP recovery tool for Redmi Note 4
ADB USB drivers
ADB Fastboot tools
SuperSU
lazyflasher-no-verity-opt-encrypt.zip (Don’t Unzip)
Rooting your Redmi Note 4 by TWRP Recovery Method
1. Once you install all the programs that are available for download, it’s time to start the actual root process for your device.
2. Open the Mi Unlock Tool on your device and log in with the same account you’ve logged in your Redmi Note 4 device.
3. Now boot your device in fastboot mode by simultaneously pressing the volume up and power buttons on your device and release the buttons when the screen says Fastboot.
4. Connect your Redmi Note 4 device using the USB cable and click on unlock in the Mi Unlock tool. The tool will then Unlock your device.
5. Before proceeding further, transfer the TWRP recovery tool file which is of the format TWRP.img in the ADB folder.
6. Now go to the settings of your Redmi Note 4, then to Developers Options ( If Developers options are not present click on About phone 5-7 times ), and finally click on Enable USB Debugging.
7. Look for the “command.bat” file in the ADB folder and run it to check if you’re device is connected.
8. Now type “adb reboot bootloader” and press enter to boot your device in Fastboot mode. You can also press the volume up button and power button simultaneously to do the same.
9. Type flash boot flash recovery TWRP.img and press enter.
You’ve successfully installed TWRP recovery, and you can proceed to root Redmi Note 4 using SuperSU.
Transferring the SuperSU file into your Redmi Note 4
Transfer the SuperSU file you’ve downloaded on your PC/Laptop to the internal memory root Redmi Note 4 phone that you have.
1. Now boot your device in Fastboot mode. Press the Volume Up button and Power button simultaneously.
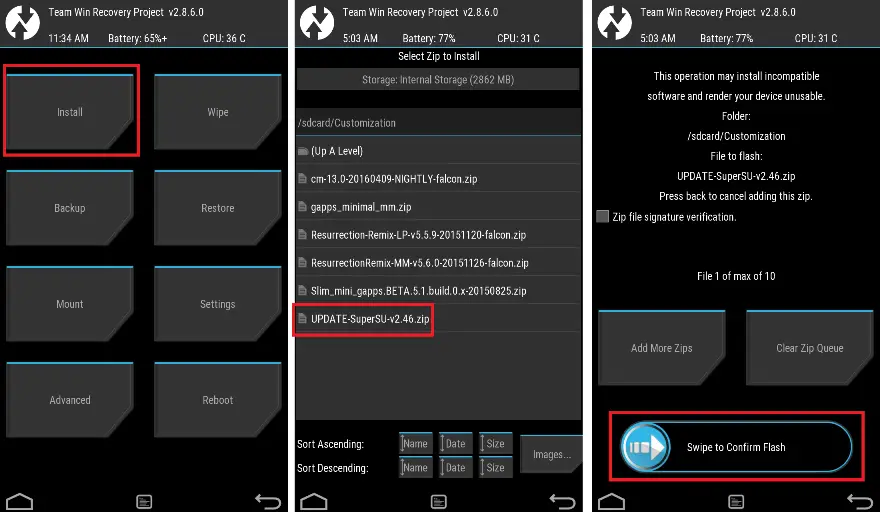
2. As we’ve installed TWRP recovery on the device, you’ll see TWRP recovery on the screen.
3. In TWRP recovery, select Install Zip and then select the SuperSu.zip file.
4. You will see a message “Confirm Flash!”. Clear cache and Dalvik Cache.
5. Go back to the menu select Install Zip, select lazyflasher-no-verity-opt-encrypt.zip, and swipe to confirm flash.
6. Once the installation is complete, press the reboot option in the menu.
7. You’ve successfully rooted your Redmi Note 4.
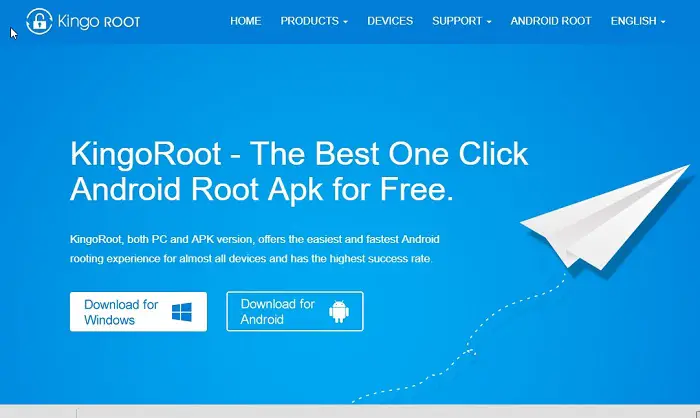
Root Redmi Note 4 With KingoRoot for Android
Another simple yet very effective method to root Redmi Note 4 is to use KingoRoot Software. Since it is a third-party Chinese app, we didn’t recommend it in the beginning.
However, if you’ve tried every way and are still not able to root Redmi Note 4, you can follow these steps.
Download the KingoRoot for Android on your PC and install it using standard requirements. If you want to do it without using a PC you can just Download Kingroot APK for Android and follow the process as mentioned above.
Once installed, open the software and connect your Redmi Note 4 smartphone to your PC via a USB Cable.
The KingoRoot App though comes for Android as well, we’ll proceed with the PC installation. Once you connect the phone, the software will automatically detect the phone.
To root Redmi Note 4 device, all you need to do is just click on the “Root Now” button.
After several restarts and popups, you will find your device installed with 1-2 other apps in Chinese.
Give access to several permissions, and Voila! You successfully Rooted Redmi Note 4.
Conclusion
So guys, by using this ultimate guide you can root Redmi Note 4 Device, Install TWRP Recovery & Install SuperSU on it. And now do awesome stuff with your Android Smartphone. If you’re still having any problems while rooting any of your devices you can ask freely in the comment box.
Frequently Asked Questions
What is root permission?
In Android, root permission is similar to that of Linux and Unix systems. It allows you to override system restrictions set by the manufacturers or operating systems.
Is rooting a phone safe?
Android rooting invalidates the warranty of your device. The manufacturer will no longer cover the damages. Malware can attack your phone’s security. Additionally, acquiring root access also includes bypassing the security restrictions set by the Android operating system.
What are the disadvantages of rooting a smartphone?
The risks of rooting Android devices include –
- Remove pre-installed apps
- Overclock the processor
- Change device appearance
- Block ads
- Underclock the processor
- Install unauthorized apps
- Change functionality
Does factory reset remove root?
No. Rooting means circumventing the permissions and editing the depth of your device. Hence, rooting is like a useful internal app. If you factory reset the device, it will delete all your data and may even uninstall the superuser apps. However, your device will be still rooted.


)
Such a great article.
How do I root my Redmi Note 4?
This guide is really helpful.
Nice post! Thank you for sharing such amazing content for us. it really helped me and I received a lot of knowledge about Mi Phones!
Welcome….
I Have Problem With My Redmi Note 4, I Bought An Application Which Can Only Be Open With A Licence Key But The Phone Always Reject The Key, Please What Should I Do To Open The Key, Should I Root It Or What Should I Do? Please Help me This Is My Telegram Username @jiddah05
I will suggest you to follow the steps which I mentioned in the Article. Do not trust any random third party applications.
Thanks, Mohit Rajora for giving the best method to Root Redmi phone. It’s the best way to root any redmi device bcoz I have tried to my redmi y1 phone, so you guys you also must tried this method and keep sharing this post to your friends and help them. Keep sharing this type of useful methods on android devices.
good post admin would like it
I also root my phone and i like to use rooted android phone.
Root is best way to use any mobile
Thank you so much for this information
Sir, Battery is draining fast
What IF it dies while root process
Pls suggest me
Try the whole process while keeping your phone on charge.
You have published very good information, this information has proved very useful for me.
Thanks Bro, you provide good info about rooting of redmi phone
This is a good website, I have been reading its articles for a long time. If I do not find a solution to any problem, then I come and search on this website.
thanks for this useful information