

The Internet has become such a crucial part of our lives that it’s nerve-wracking to even think about losing access to the web, let alone actually experience it. But many a time, some software or hardware-related issues may pop up, which can force a, pardon the pun, laptop fails to connect to Wi-Fi network. Fear not, though, for we have compiled several fixes that may help you solve this predicament!
Similar: How To Use HDMI Input on PC
1. Reboot your system
When your laptop fails to connect to Wi-Fi network, the first thing that you should do is to turn your laptop off and wait for a few minutes before switching it on. The reason behind doing this is that there could be several trivial issues such as pending updates, IP conflict, or some minor software instability that can mess with the WLAN driver. After booting it up, try reconnecting to the Internet.
2. Run the Network Troubleshooter
The Network Trouble can help identify the root of the problem without requiring the user to handle any technical aspect of the system. To open it,
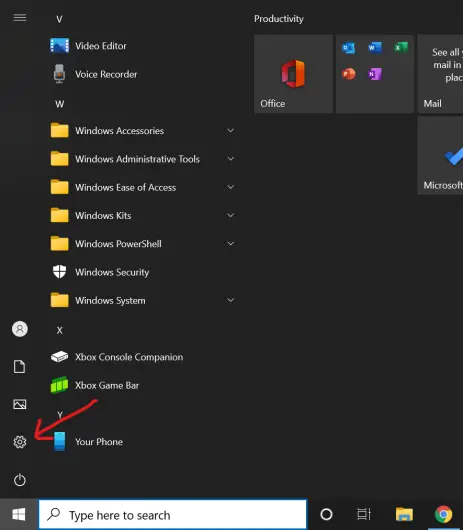
1. Tap the Windows key and select Settings.
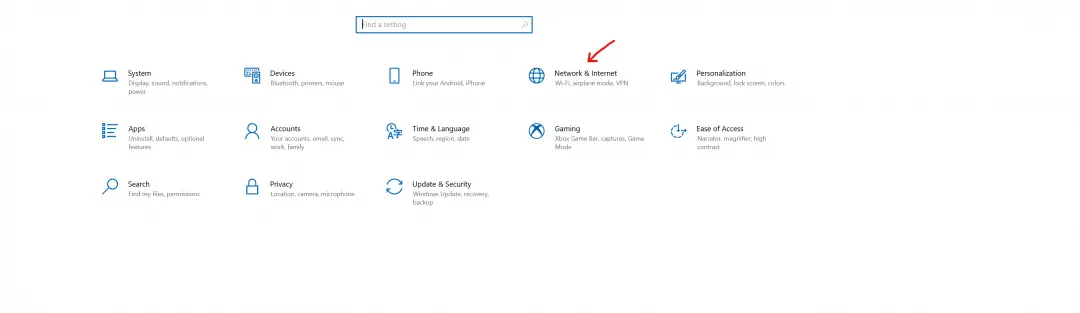
2. Click on Network & Internet.
3. Click on Network troubleshooter to open it.
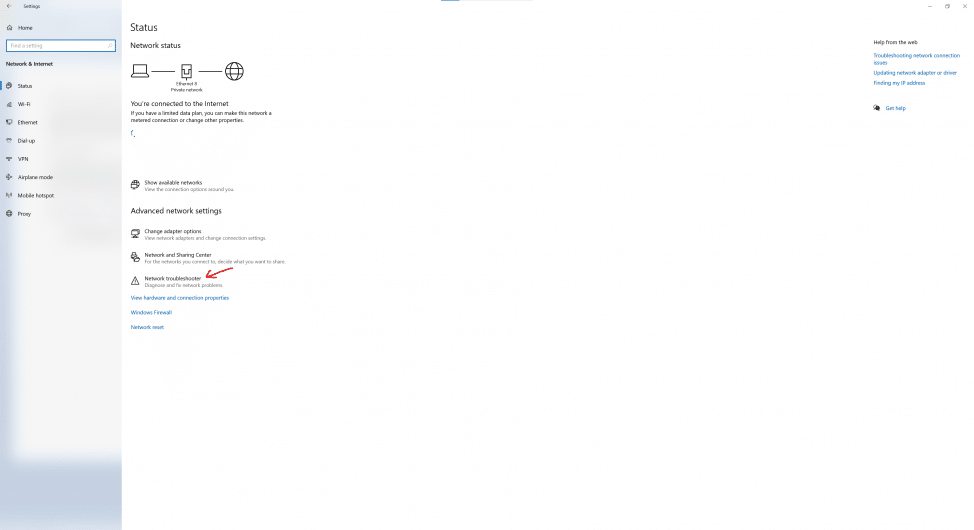
4. Choose the network you wish to diagnose and then click on the Next button.
3. Reinstall the WLAN Driver
This solution might seem a little tricky but will almost always solve any driver-related issues.
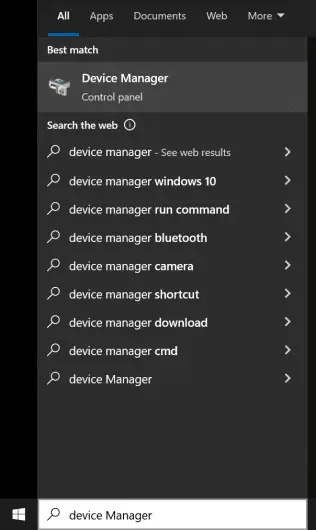
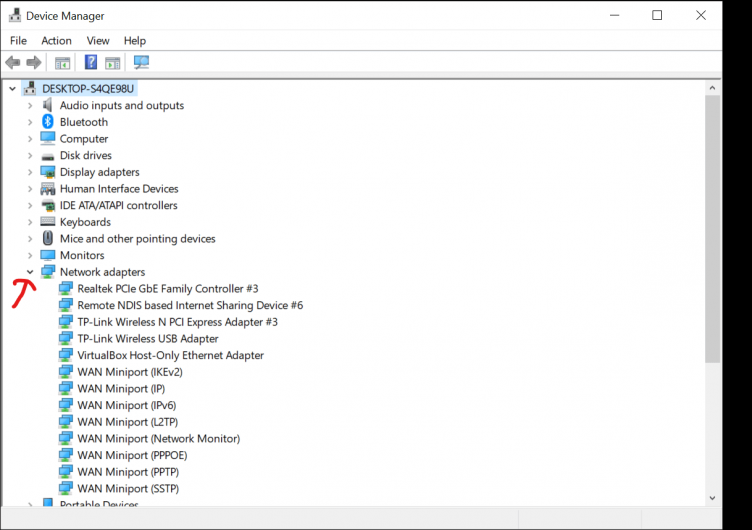
1. Type Device Manager on Windows search. You can also open it by right-clicking on the Start button and selecting the Device Manager.
2. Expand network adapters and find your Wi-Fi device.
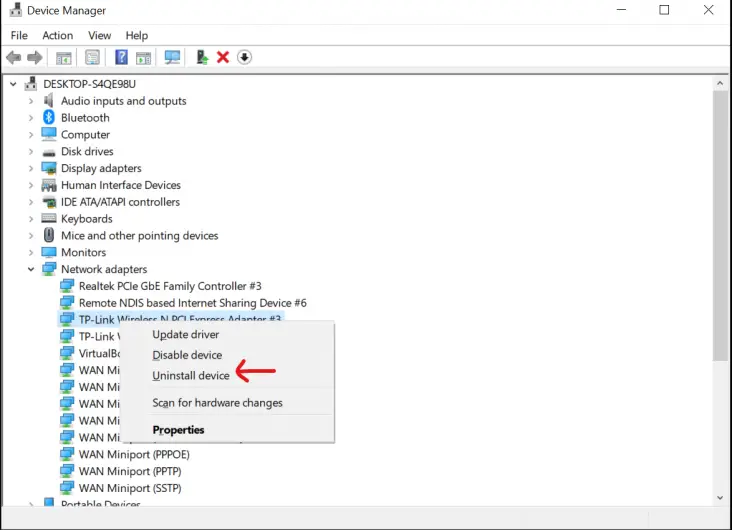
3. Right-click on the said device and select Uninstall device.
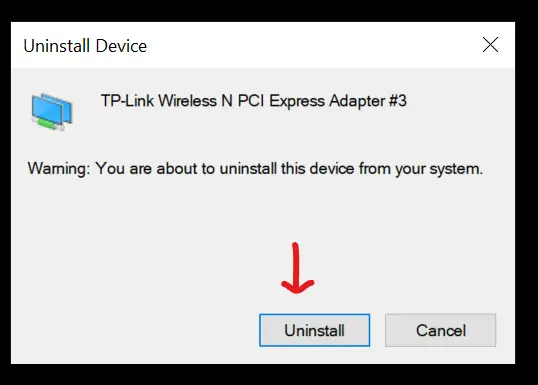
4. Click on the Uninstall button on the dialog box that pops up.
5. Reboot your system.
Note: Do not panic when the dialog box says that the driver will be uninstalled! Once you restart your system, Windows will automatically reinstall the necessary drivers.
4. Reset the DNS using Command Prompt/ Windows PowerShell
Renewing the DNS can solve any Wi-Fi-related problems in case more than one device has the same IP address on your network.
1. Right-click on the Start button and select Command Prompt (Admin) or Windows PowerShell (Admin), depending on the version of Windows OS on your laptop.
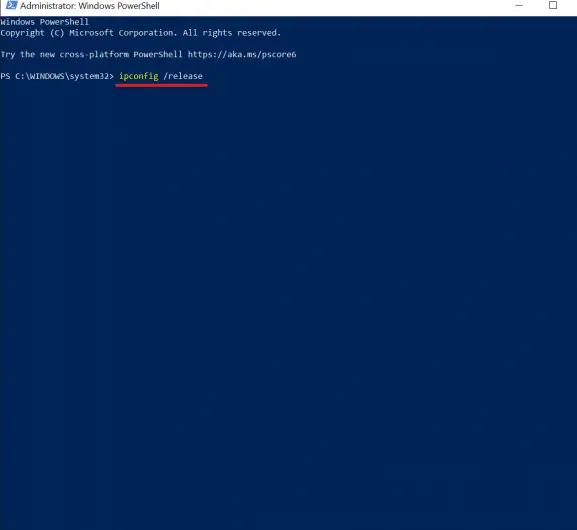
2. Type the following commands and press Enter.
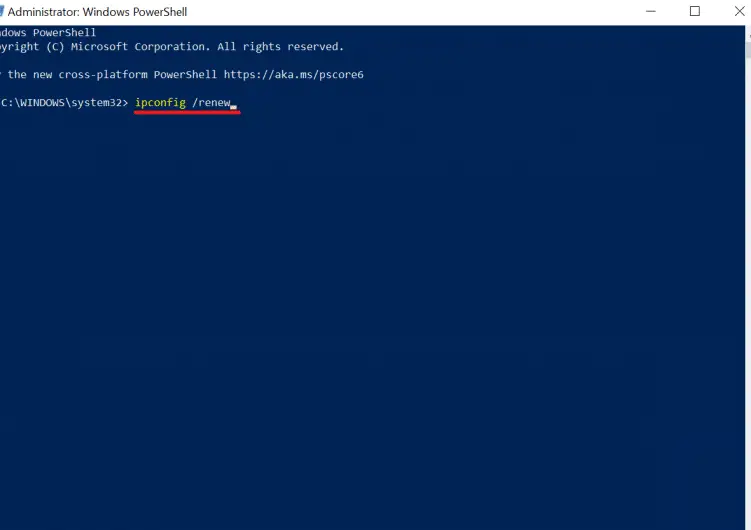
“ipconfig/ release” and “ipconfig/ renew” (without the quotation marks).
4. Now enter “ipconfig /flushdns” and press Enter.

What this does is reset your DNS and renew the IP of your laptop.
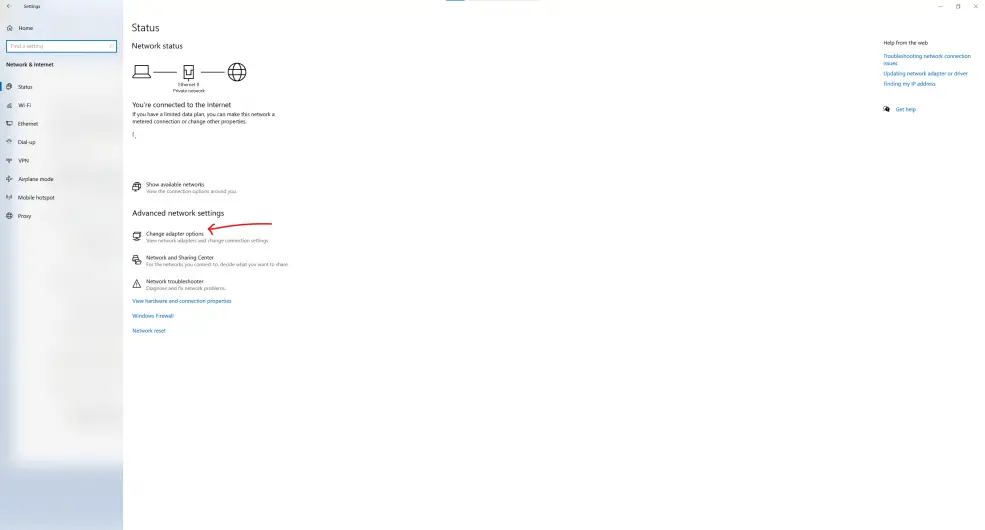
5. Disable IPv4/IPv6
1. Go to Settings.
2. Open Network & Internet.
3. Click on Change adaptor options.
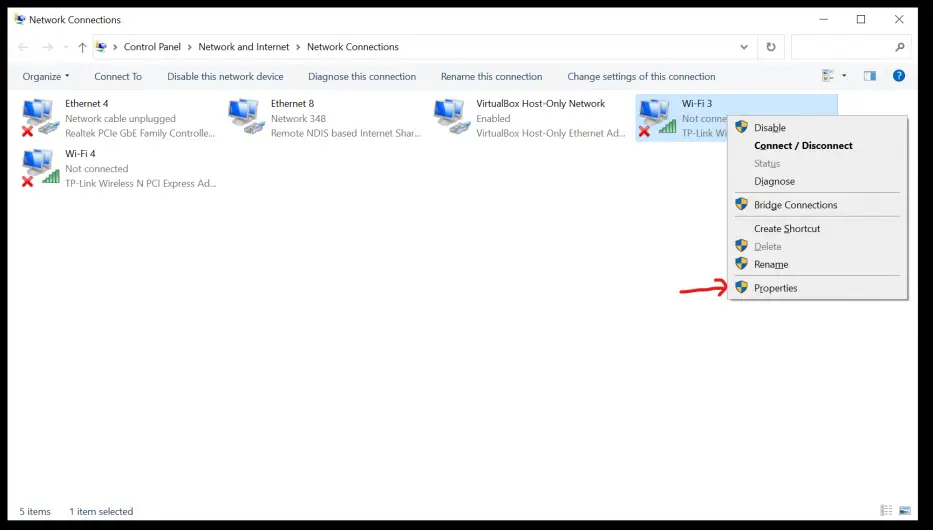
4. Right-click your Wi-Fi connection and select Properties.
5. Disable Internet Protocol Version 4 (TCP/ IPv4).
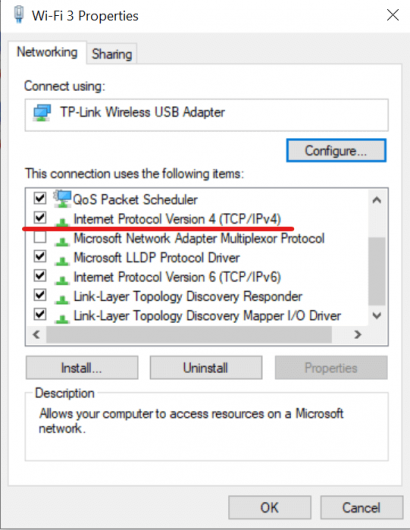
6. Try connecting to the Wi-Fi again.
7. If the laptop still doesn’t connect to the Wi-Fi, enable IPv4 and disable IPv6.
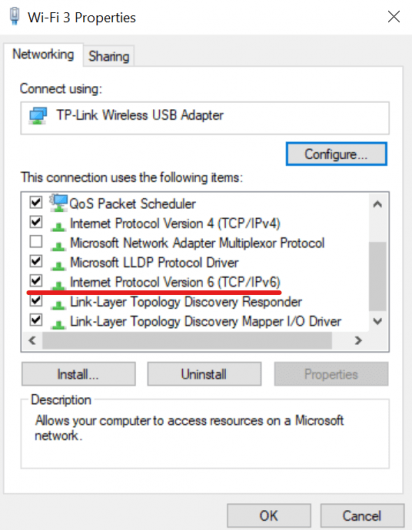
8. Once you are finished enabling and disabling IPv4/ IPv6, click on the OK button.
6. Look into the Event Viewer
Try going through the Event Viewer if you know about Windows errors and wish to obtain an error code.
1. Right-click on the Start button and click on the Event Viewer.
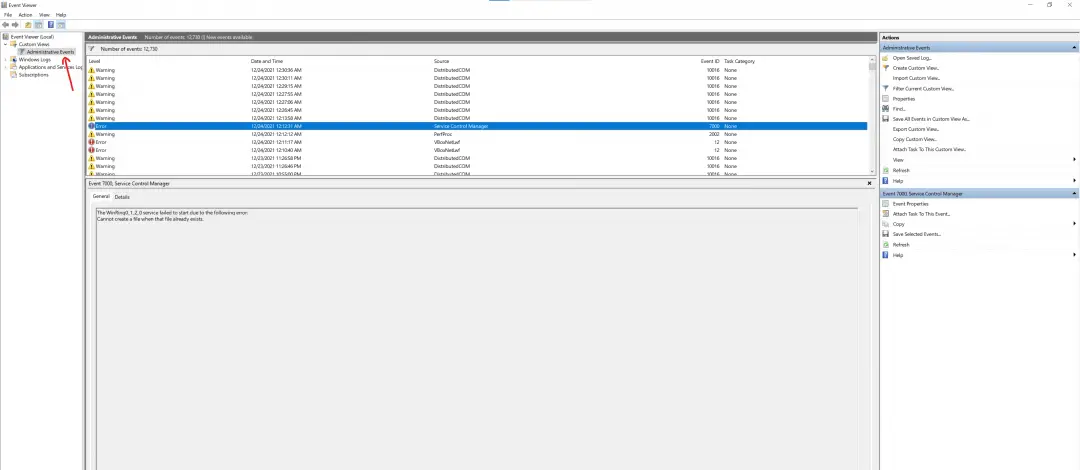
2. Click on Administrative Events under Custom View.
Going through all the events will be a cumbersome process. However, it may offer some deeper insight into the problem.
7. Use System Restore to undo any updates that might be causing the Wi-Fi disconnection problems
System Restore should be used as a last resort in case any of the aforementioned steps fail to solve your problem.
1. Head to Settings.
2. Click on Update & Security.

3. Click on the Recovery tab.
4. Select Get Started under Reset this PC.

5. Choose a restore point from the list that appears and click on Next and then Finish to reset your laptop.
Keep in mind that this process will wipe out all of your personal data; so, back it all up before you take this drastic measure!
8. Hardware Issues
If restoring the system does nothing, you can bet that something is up with either your router or the Wi-Fi chip inside your laptop. The former is easy to diagnose as you can test the Wi-Fi connection on another device such as a smartphone or another system. Restarting your Wi-Fi router is a rudimentary yet effective measure. You can also try switching the bandwidth of your Wi-Fi dongle, router, or hotspot from 5 GHz to 2.4 GHz, as many laptops don’t have a Wi-Fi card compatible with a 5 GHz connection.
In case your Wi-Fi card is the culprit behind the Wi-Fi disconnection problem, you’ll need to replace it to get Wi-Fi working on your system. Alternatively, you can look into some USB Wi-Fi adapters which perform the role. However, they connect externally to your laptop via a USB port instead of being attached to a PCIe slot on the laptop’s motherboard.


