The keyboard is an important part of any computer, or laptop, including the Macbook. However, like every other mechanical device, Macbook keyboards can experience Macbook keyboard wearing out issues over …
Chrome extensions have become increasingly popular tools for enhancing functionalities browsing experience and customizing the Chrome browser to suit user’s preferences. There are a lot of possibilities from entertainment add-ons …
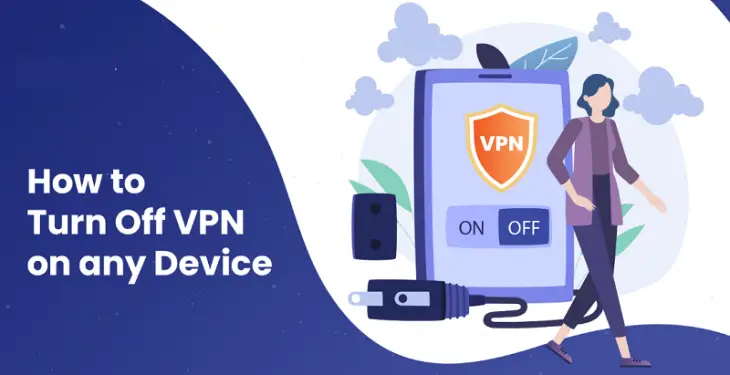
In today’s world where digital privacy and security are very concerning, Virtual Private Networks(VPNs) have become an essential tool for ensuring Security, Online privacy, and unrestricted access to content. However, …
In the dynamic world of digital business, effectively handling large volumes of data has become critical. Then along comes Pimcore, a powerful open-source platform that combines the features of Digital …
In the digital age where privacy, security, connectivity, and access to content available on the internet are matters of concern for internet users all over the world. As corporations and …
In today’s digital age, millions of people worldwide resort to mobile VPN clients to access geo-restricted content or censorship over websites and more generally for security and privacy purposes. However, …
UCSD(University of California, San Diego) VPN, a Virtual Private Network, allows users to access university networks securely from off-campus locations. Using this network, teachers, students, and staff can easily connect …